Have you ever found yourself struggling with the size of an overlay panel while working on your PrimeVue project? Have you wished for a cleaner, more minimalistic user interface, but the default panel seems a bit too large? If you nodded your head, you’re not alone! This guide is here to show you how to make the OverlayPanel smaller in PrimeVue, and the best part is, we’ll be explaining it without diving into complex coding. Get ready for some fun tips, tricks, and insights to give your PrimeVue project a sleek new look.
What is an OverlayPanel in PrimeVue?
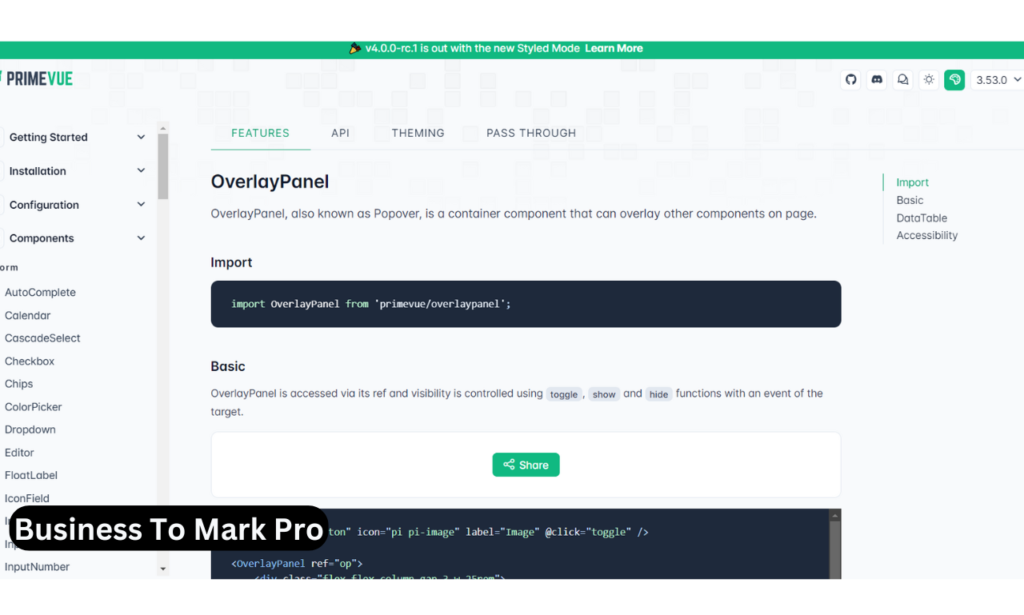
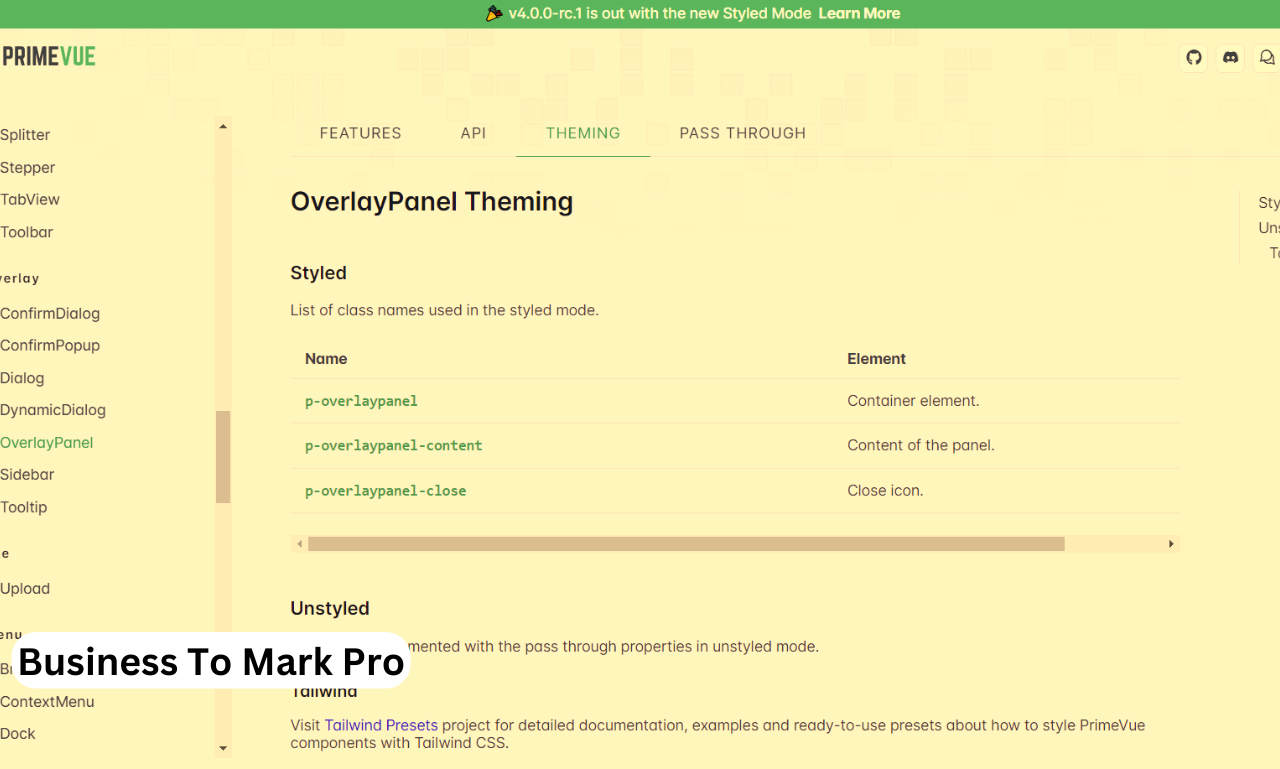
Before we dive into resizing the panel, let’s start with the basics. The OverlayPanel in PrimeVue is a handy UI component that pops up like a little window or panel, typically when triggered by user interaction. Think of it as a way to showcase additional content, options, or functionality, without cluttering your interface. It’s perfect for showing things like filters, details, or forms in a small popup.
However, sometimes the default size of the OverlayPanel doesn’t align with your needs. Maybe it takes up too much space, or visually it doesn’t fit into the clean, modern aesthetic you’re going for. That’s where resizing comes in!
Why Would You Want to Make the OverlayPanel Smaller?
Let’s be honest: a huge panel can sometimes feel overwhelming. For both you as a developer and your end users, it’s essential to maintain a streamlined, organized, and polished interface. Making the OverlayPanel smaller can:
- Improve the user experience (UX) by avoiding large, unnecessary panels.
- Keep the UI looking sleek and uncluttered.
- Direct users’ attention to exactly the right content, with no distractions.
In today’s digital world, where attention spans are shrinking, simplicity is key. A smaller overlay can help you make your UI look more modern, minimalistic, and user-friendly.
Key Considerations Before You Start
Before you dive into the process of resizing the OverlayPanel, there are a few important things to keep in mind:
- Consistency in Design: Make sure the size of the OverlayPanel aligns with the overall design of your application. Resizing the panel without considering the broader design could create a jarring user experience.
- Responsive Layout: Ensure the resized panel looks great on all screen sizes. A small panel on a desktop could appear awkwardly large or small on a mobile device.
- Content Fitting: Adjusting the size of the OverlayPanel also means thinking about the content inside it. You don’t want the content to be cramped or the panel to be empty with too much white space.
Now that we’ve covered the “why” and “what” let’s move on to the practical part of resizing the OverlayPanel in PrimeVue!
How to Make the OverlayPanel Smaller in PrimeVue
You might think resizing UI components involves intricate coding, but the truth is, you can achieve a smaller OverlayPanel with some simple and strategic adjustments. Here’s how:
1. Leverage CSS Customization
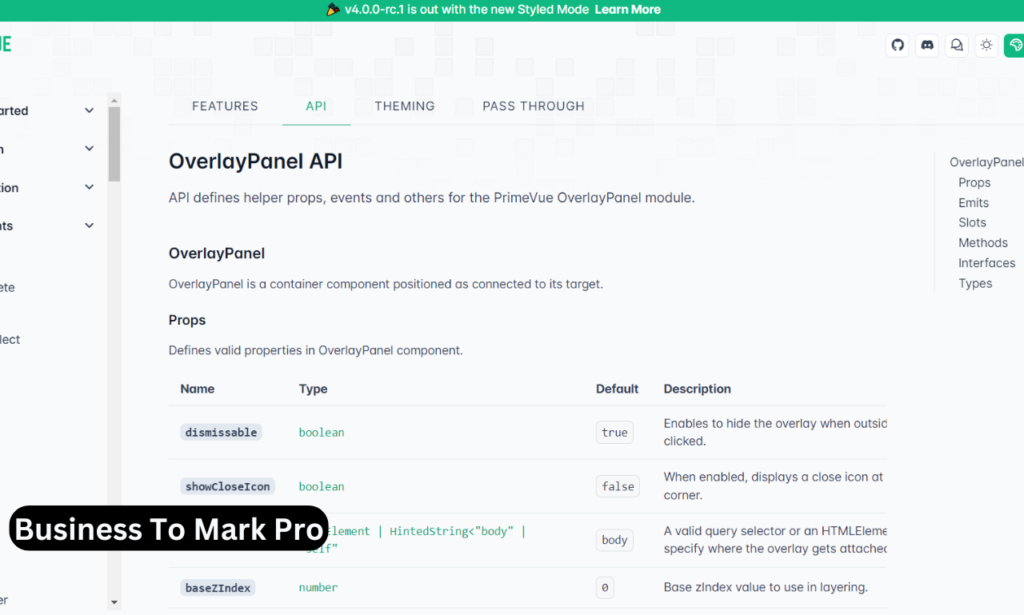
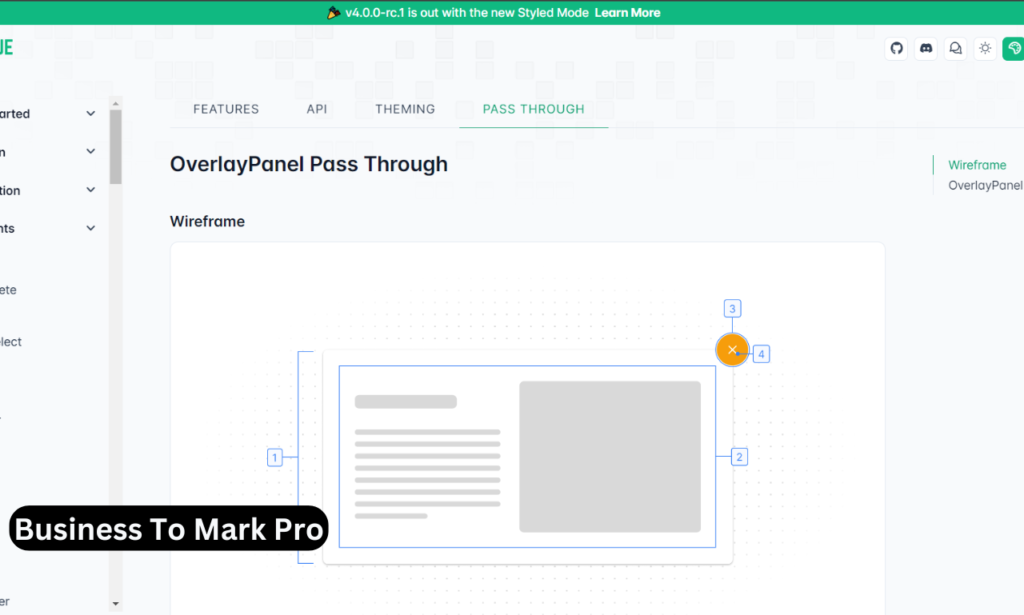
To make the OverlayPanel smaller, you don’t need to be a coding wizard. In fact, you can use good old CSS to handle this. Adjusting styles like height, width, and padding can quickly make your OverlayPanel more compact and visually appealing.
Think of it as choosing the right outfit: sometimes the default setting is just too big, and you need to tailor it a bit to fit your style.
2. Use Minimalist Content
A smaller OverlayPanel naturally requires minimalist content. Ensure that the text, images, or options displayed inside the panel are concise and to the point. Instead of overloading the panel with excessive information, focus on what the user truly needs.
For example, if you’re using the OverlayPanel to display product filters, stick to the essentials. If your panel contains too many unnecessary elements, resizing it won’t help — it’ll just feel cluttered. Be mindful of your content and remember: less is more!
Also Read: Leespring vs Xtron Car DVDs: Which One Is Right for You?
3. Set Intentional Padding and Margins
Once you’re on the path to shrinking that OverlayPanel, don’t forget about padding and margins. These little design elements can make all the difference in how the panel appears to the user. Reducing padding can make the panel appear smaller and tighter, while still maintaining its functionality.
This is where you can think like an interior designer! A room may be large, but strategic placement of furniture (or, in this case, content) makes it feel cozy and manageable. By adjusting padding and margins, you achieve the same effect in your PrimeVue OverlayPanel.
4. Mobile-First Design
We’ve already hinted at this, but let’s get into specifics: designing for mobile should always be a priority. Even if you’re resizing the OverlayPanel for desktop users, think about how it will translate to mobile.
In today’s world, users expect your web application to work seamlessly on mobile devices. A smaller, more mobile-friendly panel provides a better experience. Remember that the panel should look great on small screens, not just on desktops.
5. Create a Focal Point for Users
Now that you’ve mastered resizing your OverlayPanel, it’s time to use that new design strategically. When you make an element smaller, you’re also refining your user’s focus. You’re directing their attention to one key element, rather than overwhelming them with too many choices.
This concept of focus works wonderfully in UI/UX design. With a smaller OverlayPanel, you’re nudging users to engage more meaningfully with the content, leading to higher interaction rates and smoother navigation. Think of it as giving users exactly what they need, without distracting them with unnecessary details.
Common Mistakes to Avoid When Resizing OverlayPanels
Of course, like any design task, there are potential pitfalls you’ll want to steer clear of. Here are a few common mistakes when resizing an OverlayPanel:
- Too Small to Be Functional: Resizing is great, but make sure the panel still serves its purpose. If it’s too small to display key content, users will feel frustrated.
- Ignoring Accessibility: While aesthetics are important, don’t forget about accessibility. Ensure that all users, including those with disabilities, can interact with the smaller panel. Consider things like font size, contrast, and button size when resizing.
- Overcomplicating the Process: Keep it simple! There’s no need for overly complex customization to achieve a smaller panel. Stick to a few core adjustments and focus on creating a smooth user experience.
Final Thoughts on Resizing the OverlayPanel
By now, you should have a good understanding of how to make the OverlayPanel smaller in PrimeVue — and why it’s a smart move! It’s all about balancing form and function. You want to provide users with a visually appealing experience, while also making sure the UI remains intuitive and easy to use.
With the tips in this guide, you’re well-equipped to take control of your OverlayPanel design. Whether it’s for creating a more focused user journey or simply cleaning up your UI, resizing the OverlayPanel is a valuable technique.
So, the next time you open up your PrimeVue project and see that large OverlayPanel taking up space, you’ll know exactly what to do: resize it, streamline your content, and make sure your users enjoy a smooth and sleek experience. Happy designing!
FAQs
1. Why should I make the OverlayPanel smaller in PrimeVue?
Making the OverlayPanel smaller enhances user experience by providing a cleaner and more focused interface. A large panel can overwhelm users, whereas a smaller one allows for streamlined content display, improving navigation and usability. It also helps maintain a sleek, modern design that aligns with current UI/UX trends, especially for mobile responsiveness.
2. How can I resize the OverlayPanel in PrimeVue without coding?
Resizing the OverlayPanel in PrimeVue can be easily done through CSS customization. By adjusting properties such as height, width, padding, and margins, you can make the panel more compact. Additionally, minimizing the content inside the panel and ensuring a balanced layout can enhance its visual appeal without the need for complex coding.
3. What should I consider before resizing the OverlayPanel?
Before resizing, consider the design consistency, ensuring the smaller OverlayPanel matches your overall UI. Think about responsiveness, making sure it looks good across different devices, especially mobile. Lastly, assess the content inside the panel; it should be minimal yet functional to avoid cramping or too much empty space that could disrupt the user experience.